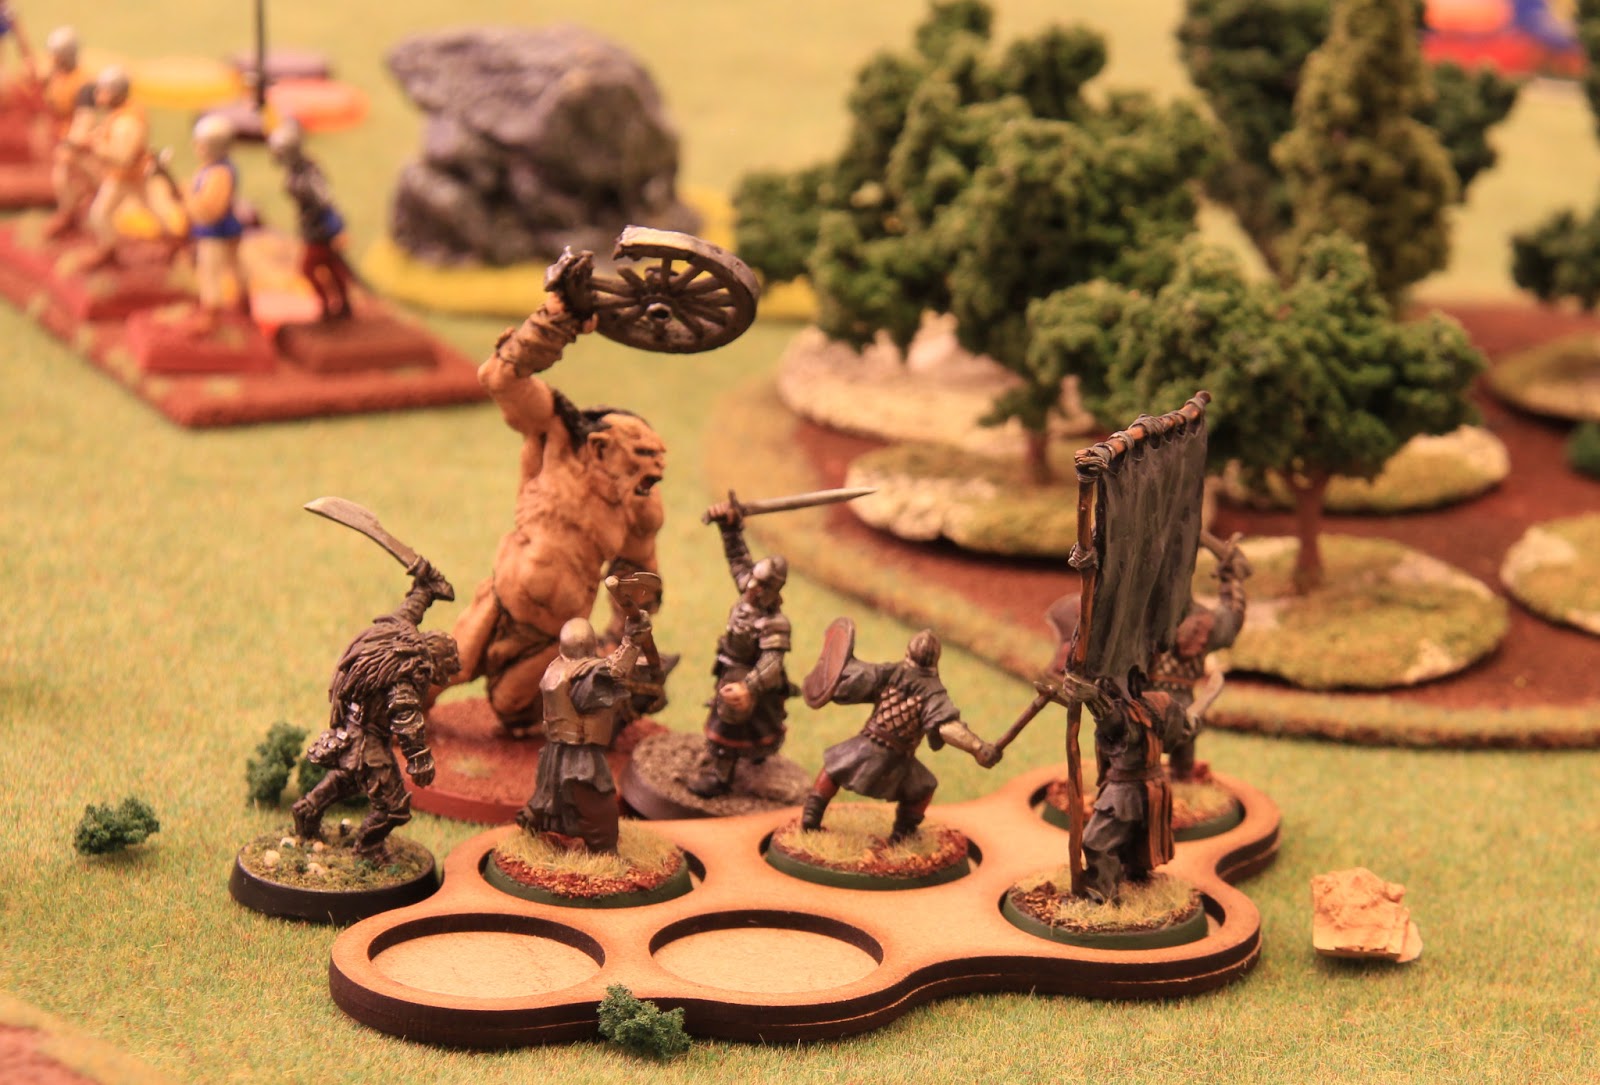
Tuesday, March 26, 2013

A Wargamer in Toledo

I made a daytrip to Toledo while staying in Madrid - the high-speed train covers the 71km in just 30 minutes, giving you plenty of time to see the city.

My main purpose of going to Toledo was to visit the Army Museum, which is the amalgamation of a few army museums in Spain.

A flag from the battle of Lepanto in the nearby Santa Cruz Museum.

The Museum has a large collection of toy soldier.


Moulds

Diorama

Barding.

Suits of plate armour.


Polearms

Suit of armour for a prince

Napoleonic uniform

More toy soldiers

Artillery

Weapons from the Spanish Civil War

N for Napoleon


Saturday, March 23, 2013

A Wargamer in Madrid 2

I made it a point to go to Atlantica, which is near the Palacio Real and all the touristy bits of Madrid.

Nice storefront.


Renaissance Spanish and Carlist lancers, I believe?
Plastics!

Sci-fi goodness.

Friday, March 22, 2013

A Wargamer in Madrid

I happened to be Madrid the week they have the changing of guard. Unfortunately, it was a rainy winter day and the troops were in their winter dress and overcoats. Still, here are the pictures:

Cavalry sergeant - a badass-looking fellow.

Guard Cuirassier in winter dress, guarding the entrance to the Palacio Real.

Guard lancers during rehearsal.

Guard lancer standard bearer in full dress.

Infantryman.


Close-up view of the cuirassier helmet.

Trumpeters of the Honour Party.

The sergeant again.

Artillery limber. Beautiful draft horses.

Artillery in the foreground, cavalry in the background, against the Almudendra Cathedral.

Tuesday, March 19, 2013

Dux Britanniarum Game 3: Raiding a Border Tower

Emboldened by his successes, Badzur decided to capture Beren, a captain in The Gondor army, to further boost his reputation.

Tipped off by his scouts, Badzur lays an ambush for Beren as he returns from patrol...

Ruk leads the Dunlending to cut Beren off from the border tower. Seeing this, Belegond leads the garrison in a sally to link up with the patrol.
As Ruk and Thargurz lead the Dunlending and goblins to block the garrison, Badzur leads the orcs in pursuit of Beren. Beren decides to go around the ruined tower to avoid them.
Badzur catches up with Beren and the dwarves!
The allies are destroyed and Beren is captured just as he is about to reach the safety of the Gondor line!

This game really showed how troop quality makes a difference. Due to the scenario set-up, I was able to place my Warriors against fg's Levies, and my Elite against his Warriors, so while our two main formations fought each other near the tower, I was able to use my Elites to achieve the mission.

Once again cards played an important role here - I was able to gain an upper hand early in the game with a Carpe Diem card, and fg nearly managed to avert disaster by playing the Hero of the Age card to raise the number of attack dice Beren had, which prevented his capture.

While the mission was a success, the margin of victory did not let me gain new recruits. I did inflict enough casualties for fg to not contest my next raid, which gives Badzur enough money to declare himself a warlord.

I am now wondering if I should declare a battle the next game to try to win myself a province, or wait until I have a definite lead... Decisions, decisions...

Saturday, March 16, 2013

Back

I'm still trying to get back into rhythm after a short trip to Madrid last week. It will be a while before I get all the photos I took organised and post a proper entry, but here are a couple of pics to whet your appetites.

Changing of the guards at Palacio Real, Madrid

Miniatures at the Military Museum in Toledo

Thursday, February 28, 2013

Dux Britaniarum Game 2: Raiding a Wagon Train

After his initial setback some of the goblins deserted, but Badzur managed to convince a band of Dunlending to join him, and in the month of April he once again launched a raid into Enedwaith.

His scouts brought him the news of a small convoy of supplies coming from the north, and he planned an ambush at a river crossing...

Ruk springs the surprise on the allies!
Belegon orders his men to form a shieldwall while Thorgaut guards his flank. While Ruk demonstrates against the shieldwall, Badzur leads a furious charge against the levy guarding the mule train, routing them from the field.
The Allies are bested in the first clash of battlelines, and Belegon orders the men to retreat towards the crossing, where they are joined by levies sallying forth from the border fort. The orcs capture the mule train!

Separated from the men of Gondor, the dwarves fend off the orc assault and eventually rejoin their allies.

As it turned out the random terrain movement and scenario generation favoured the orcs this game: we rolled a river with a single crossing and the orcs enter the tabletop right where the convoy was.

In my first attack I played all five cards in my hand: Carpe Diem, Strong Arm, Bounding Move, Aggressive Charge, and Fear, which routed the levy guarding the mules and making possible their subsequent capture.

The first clash between the two battlelines went in my favour, and the Allies withdrew to reform. After that we spent two turns staring at each other while I moved the mules off the table.

The raid saw moderate losses on both sides: the orcs lost 11 men and the allies 16. More Dunlending joined Badzur, and in the month of May he once again launched a raid into Enedwaith, but was unopposed as Belegon chose to rebuild his strength over confronting them in his weakened state.

As this was our second game, things played faster. We hope to get the third game of the campaign in soon.

Swordsmen

I find myself losing impetus as I try to paint another 40 or so figures to complete my Warhammer (The) Empire army. Times like these it helps to have "unique" figures to paint.

The first one comes from Mirliton's Halberdier Command Group.


I really like the character of this figure. The original figure cradled its helm in its left arm, but the helm, while magnificent, was out of period for my army. I hacked the whole left arm off, and glued a matching left arm from the Perry plastic set holding a poignard in its place. This figure will join my swordsmen unit; the unit is armed with sword and shield, and the poignard in the off hand has a similar function, giving the figure a "parry save".

The second figure (the one on the right) comes from Mirliton's Swordsmen Command Group.


Again, I hacked off the arm below the elbow to swap the shield for a more period one, and embedded arrows in the shield and the ground to add even more dynamism to the figure. I like how the figure echoes the unit standard bearer which I painted before I even bought the Mirliton figures.

And here are the first two ranks of the swordsmen unit:


The flocking and shields have yet to be added. I've given the figures red pants to set them apart from the other foot units - swordsmen have a higher WS in Warhammer and are I suppose "semi-elite", and I am using red pants as a mark for "professional" troops as opposed to militia in this army.

These are the last figures I will be painting for the next couple of weeks. I'm off to Madrid next week and plan to drop by Atlantica. Hope I don't overbuy...

Monday, February 25, 2013

Greatswords

With the Picts done, I turn my attention to my WOTR/Warhammer (The) Empire army. The first to get painted are these seven fully-armoured men-at-arms with two-handed weapons from Mirliton.


As you can see, they look just about historical enough to blend in with the rest of my figures. They will be fielded as Greatswords, the elite foot units of (The) Empire. I like the look of a fully-plate-armoured figure, so this is one unit I will add to if I find suitable figures - perhaps Perry may decide to release a plastic men-at-arms set at Salute this year...


Thursday, February 21, 2013

Olde Towne

With fg investing in one of the upcoming VSF Kickstarters, we decided to get down to he business of recreating the Victorian urbanscape on table.

After some discussion, we remembered that we have the Streets and Sewers of Malifuax sets, which provided a base for the tabletop. For the buildings themselves we are tending towards card buildings, not just due to costs reasons but also storage space. After experimenting with some of the fantasy buildings I have, I've streamlined by process to gluing just the four walls onto a mounting board, cutting them out, and then taping them together with masking tape, leaving the last joint free so the whole piece can be stored flat - assembly will be made with the aid of an L-clip from the Malifaux set.

Then yesterday, while browsing at the local art supplies store, I found a new material: 1mm PVC foam board. It has a non porous surface, cuts more easily than cardboard, and looks like it may be more durable. An A3 sized sheet costs only S$1.75 and is just enough for a building.

Today, acting on a tip-off from a TMP discussion thread, I bought the Olde Towne set from Stoelzel's Structures. It looked expensive at US$12, but the pdf is 461 pages long and the way the graphics are organised fit my mode of operation (even if it can be a bit hard to scroll through all those pages to find the page you want).

I printed out the required pages, glued them to the foam board, cut them out (some slips there - I'll be more careful in the future), disguised the edges with a brown marker, and made this:


Each of the graphics come in three shades: daylight, night-time, and monochrome night-time - a blue overcast look to simulate movie darkness. The one shown above is the night-time version, which is darker in real life but looked bright when I as viewing it off my monitor...

Sadly, I didn't have any of my VSF figures handy to pose next to it.

The ground is a tile from the streets of Malifaux set.

The building doesn't look much on its own, but I believe once we have the numbers we can have a rather nice stage for our VSF games.

Thursday, February 14, 2013

Skirmish Tray

We had a bit of a family crisis this past week but it seems everything is getting back to normal again.

On the plus side, it meant I stayed at home if I wasn't working and I got quite a bit of painting done - kept me from bouncing off the walls.

Anyway, this is one of the things I managed to finish:


When I started the WOTR project, I intended to use the figures for my Strandhogg games. When the guys started going into Warhammer Fantasy, I had to make a choice between styling my army as a Bretonnian army, or an (The) Empire army. Eventually I decided to go with the handguns and cannons, and so went for a (The) Empire army.

The down side to this, however, was that I lost the longbow effect - (The) Empire archers are strictly skirmishers, which meant no deep ranks of archers.

Under the 8th edition, skirmishers have to be deployed in a rank-and-file formation and the end of their movement, but rather annoyingly, the figures have to be 1/2" apart. This created a market for "skirmish trays", which are specialised movement trays with slots for square bases at 1/2" apart.

I got mine from Back 2 Base-ix. These come in two pieces of 3mm MDF (the top one with the slots in them, and the bottom as a base) and all the little slots that were cut out, which you can use as bases.

I didn't want my figures to look like they are standing on a platform, so I replaced the bottom with a paper-thin sheet of plastic - the top piece provides enough strength to the whole construct. To make the formation look less sparse, I added a couple of stakes and bundles of arrows from the Bretonnian archers set. It was when I was going to glue the stakes into position when I realised I don't actually know where to put them, or to put it in another way, where the archers stood in relation to the stakes. Behind? In front until they are charged? Beside? In the end practicalities prevailed and I placed the stakes so that they don't jut out off the base.

I also found out that the bases I based my archers on were a little bigger than the slots - I ended up filing the slots AND the bases to make them fit.

I'm quite happy with the outcome.

Monday, February 11, 2013

Two versions

One of the things that got me started on refurbishing and expanding my Space Marines force was the Duke Gerard figure from Reaper.

I use him as a Space Marine Captain, armed (after much deliberation) with a Relic Blade and Storm Shield. The sheathed sword is hidden behind the shield, so I removed the hand holding the bolter I originally equipped him with and gave him an empty hand instead.

A while later, I thought it would be good if I could field a figure with the Captain Sicarius stats, so I decided to buy another figure. However, I wanted it to represent the same person, the idea being that it was the same captain of the company, but equipped differently. Fortunately, the new figure I got had similar hair to the Duke Gerard figure, and to further the mimicry I ripped the wings off the original figure and magnetised it so it can be used on either figure.

So here they are.