
Remember how I bought a Warzone 2nd edition boxed set, painted up the 40 Imperial Regulars figures, bought more stuff to round out the army, and then wondered what I should do with the remaining 40 Bauhaus Militia figures?
Well, I came across this kickstarter, thought about getting myself a unit of cavalry and maybe a support weapon with crew... but ended up backing it at the Starter Army level, which will give me a unit of cavalry, a unit of infantry, several specialist figures, and 6 ogryns. Add to these the 40 Bauhaus Militia figures, and I will have a force that matches my Imperial force.
I started looking at WW1 rules - because why use a sci-fi set of rules for WW1-themed sci-fi troops if you can use WW1 rules, right? - and came across Trench Hammer by Nordic Weasel Games. I have bought a few of their rules before and have enjoyed them, and there are a few websites with detailed reviews of the game, as well as fan-made QRS and unit cards.
I got the rules, read them, and liked them enough to also buy the Expansion booklet. I made my own QRS, some unit cards, and played a small solo test game using my Warzone Imperial figures against my Space Marines.
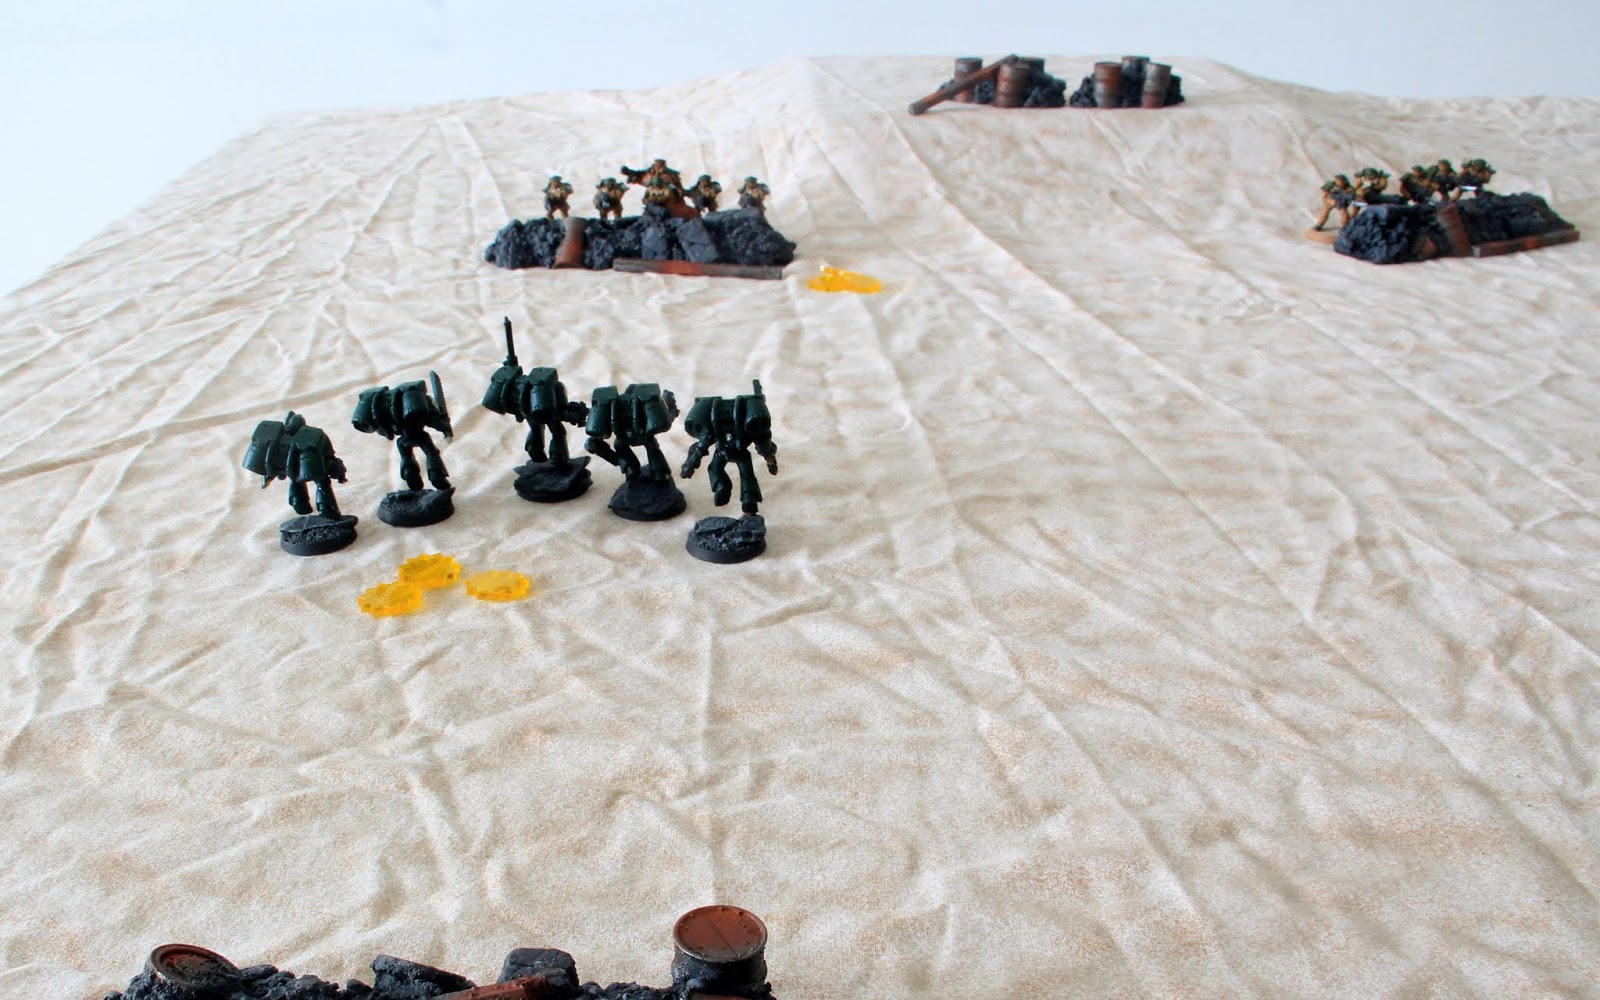
I set up two opposing lines of cover just over 24" apart, with the Imperials holding a position on top of a low rise (in which I placed the heavy machine gun), and two positions at the bottom of the rise.
The Space Marines are the attackers, and start off from cover too.
My initial plan was to silence the MG on the rise, suppress one of the other positions, and then charge it with the Assault Squad. As it turned out, both sides soon shot each other to bits.
I reset the game, and this time I classed all the covers as trenches. This time, I had the opposite problem: shooting was rather ineffective, with the troops simply hunkering down to recover each time they sustained too many hits - in Trench Hammer hits are not permanent, but are more like "shock", which can be recovered; a unit is only removed if it accumulates 7 or more hits.
Eventually the Space Marines rolled well enough to eliminate the machine gun, and the Assault Marines charged out of their trenches... to be cut down before they could make contact.
I decided that what I really needed, just like the combatants in WW1, was some indirect fire.
I switched the positions for both sides, this time deploying two squads of Marines on the side with the low rise, and attacked them with two squads of Imperials, a mortar, and a squad of cavalry kept out of the line of fire.

The mortar was not as effective as I had hoped though, and eventually I decided to take a risk and launch my cavalry against the first trench. Despite the bonus for shooting at troops moving in the open, both Marines units failed to score enough hits to stop the cavalry. On the next turn the Imperials won the initiative, and I rolled 6 on the bonus movement, allowing the cavalry to assault the trench... and drive the Marines back. It was a Light Horsemen moment.
From the short test games, I think I learned some things about the rules.
As with all games, scenario design and terrain placement is very important. Without enough cover, units will be destroyed before they have a chance to come into assault range. On the other hand, with too much cover, troops will just hunker down and not move or attack, so the scenario must force the units to move out of cover, and/or have a time limit.
With just 2 to 4 units per side, one almost always has enough command points to activate all the units; I believe the game will be more interesting if there are 6 or more units per side, which will force the players to prioritise which units they wish to activate or rally.
I enjoyed the rules enough to want to try them in a larger game, so as soon as the art supplies store opens again, I am going to get myself some Feldgrau paint...

